rtk (REAPER Toolkit, but stylized as lowercase rtk) is a GUI and utility
library for REAPER written in Lua whose design is loosely
inspired by GTK, with some aspects borrowed from HTML and CSS.
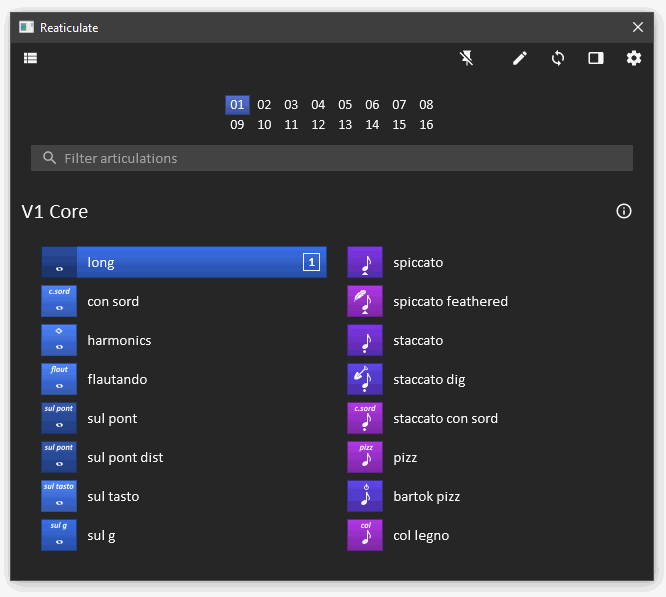
rtk can be used in any script, but it was originally written for Reaticulate, which is shown below to serve as a demonstration of rtk's capabilities.
The tutorial is the best place to get started coding with rtk.
You can also visit the project page on GitHub for original source code and issue tracking.
There are a couple different methods to install rtk:
| Audience | Method | When to Use |
|---|---|---|
| User | ReaPack | You want to use a script that requires a system-wide install of rtk. The script's documentation will indicate this, or may direct you to this site when you run it. |
| Developer | ReaPack | Easiest method to get started. You don't want to have to distribute rtk (which is fairly sizable) along with your script, and you're comfortable asking your users to install the ReaPack for rtk. Ideal for quick, single-file scripts. |
| Developer | Bundle | Maximum control. You want to minimize the prerequisite steps for your script, want to use APIs currently marked as unstable, or you want the most assurance that what you tested is what your users will be running. |
Developers, you can learn more about these options on the Loading rtk page.
ReaPack is a package manager for REAPER. If you don't already have it installed, first follow ReaPack's installation instructions. Once installed, you can import the following repository:
https://reapertoolkit.dev/index.xml
While rtk's source code is comprised of many individual files, it is available as a single bundled file.
You have two download options (right click | Save Link As):
You can choose to distribute rtk.lua alongside your application, or you can also use
rtk's custom bundler to combine your script files
with rtk to produce a single script file that can be executed directly by REAPER without
needing to fiddle with Lua package paths.
Some of rtk's key features are:
Currently the widget set is a bit anemic but more are planned as the project matures.
REAPER 6 is recommended due to test coverage. REAPER 5.975 and later is expected to work, however the level of testing on these older versions isn't as strong as REAPER 6.
The SWS and js_ReaScriptAPI extensions are recommended but not required. rtk will work with either or both, and when present much more functionality is available. The APIs are appropriately documented when an extension is required, and it's up to you as a script author to pass along the extension requirement(s) to your users should you use any APIs that depend upon them.
Here's a simple example to give you a flavor of what coding with rtk looks like:
-- Set package path to find rtk installed via ReaPack
package.path = reaper.GetResourcePath() .. '/Scripts/rtk/1/?.lua'
-- Now we can load the rtk library.
local rtk = require('rtk')

-- Create an rtk.Window object that is to be the main application window
local window = rtk.Window()
-- Create a new button initialized with this label.  Note the curly braces,
-- because all rtk.Widget classes actually receive a table of attributes
-- upon initialization.  This one is a special "positional" value that
-- corresponds to the 'label' attribute.  We also add a 20px margin around
-- the button to add some spacing between it and the window border.
local button = rtk.Button{'Fool me once, shame on ... you.', margin=20}
-- Add an onclick handler to respond to mouse clicks of the button
button.onclick = function(self, event)
    -- Animate the button color to red and change the label.
    button:animate{'color', dst='red'}
    button:attr('label', "Fool me--can't get fooled again!")
end
-- Add the button widget to window, centered within it.  In practice you
-- would probably use a series of box container widgets to craft a layout.
window:add(button)
-- Finally open the window, which we place in the center of the screen.
window:open{align='center'}
Now go check out the tutorial.


